 Pops
Chocolate-Dipped Fruit: Step by Step
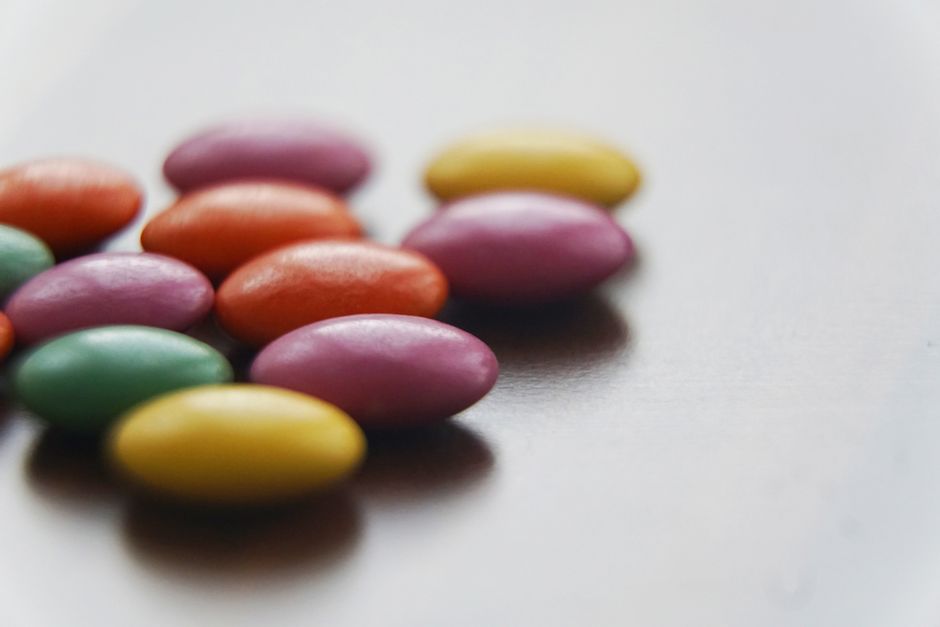
This step-by-step take on chocolate-dipped fruit keeps things simple. Most of the work is waiting while it freezes or bakes. Below, we walk through chocolate-dipped fruit step by step.
Before you start
Chocolate-dipped fruit is one of the easiest treats to make with children, and it feels special without much effort. Strawberries are the classic choice, but bananas, apple slices, pineapple chunks, dried apricots and orange segments all pair beautifully with chocolate.
Ripe, in-season fruit does most of the work for you.
Step by step
More often than not, the fruit must be completely dry before dipping. Even small drops of water can cause melted chocolate to seize and prevent it from sticking to the fruit. Washing the fruit an hour ahead and letting it air dry on towels, then patting it once more, gives the best results. Fruit should also be at room temperature, since cold fruit can cause condensation.
Labeling containers with the date makes it easy to use things while they are at their best.
What to check
Melting the chocolate is a job for an adult, either in short bursts in the microwave or over a pan of barely simmering water. Adding a teaspoon of neutral oil to every half cup of chocolate makes it smoother and easier to dip. Once the chocolate is melted and slightly cooled, children can take over the dipping.
Freezing or baking
Hold each piece of fruit by the stem or with a fork or skewer, dip it about halfway into the chocolate and let the excess drip back into the bowl. Place the dipped fruit on a parchment-lined tray. Children can add sprinkles, chopped nuts or shredded coconut while the chocolate is still wet, or drizzle a contrasting chocolate over the top once the first layer sets.
The practical takeaway is to taste the mixture before it goes in the freezer, since cold dulls sweetness.
Serving
Chill the tray for about twenty minutes until the chocolate hardens. Chocolate-dipped strawberries are best eaten the same day, since the berries begin to release juice and soften. Sturdier fruit like dried apricots or apple slices brushed with lemon juice can be kept in the refrigerator for a day or two.
The practical takeaway is to taste the mixture before it goes in the freezer, since cold dulls sweetness.
Practical tips
A few simple things tend to help:
- Chill the base in the fridge before it goes in the freezer.
- Taste the mixture before freezing; it will taste less sweet once frozen.
- Run molds under warm water for a few seconds to release them.
- Leave a little space at the top of molds for expansion.
The bottom line
Take it one batch at a time. The best recipe is the one you will make again. Start with the basics and adapt from there.
Frequently asked questions
Can I swap the fruit?
Usually yes. Keep the overall amount of liquid and sweetness similar and the recipe will behave much the same.
Is it a good project for kids?
Yes, with an adult handling knives and the stove. Stirring, pouring and choosing flavors are easy jobs for small helpers.
Do I need special equipment?
Not really. Molds help, but small cups, a loaf pan or an ice cube tray work for most chocolate-dipped fruit recipes.
How far ahead can I make it?
Most frozen treats keep well for a couple of weeks in a sealed container; texture is best in the first few days.