 Pops
Homemade Fruit Popsicles: Common Mistakes to Avoid
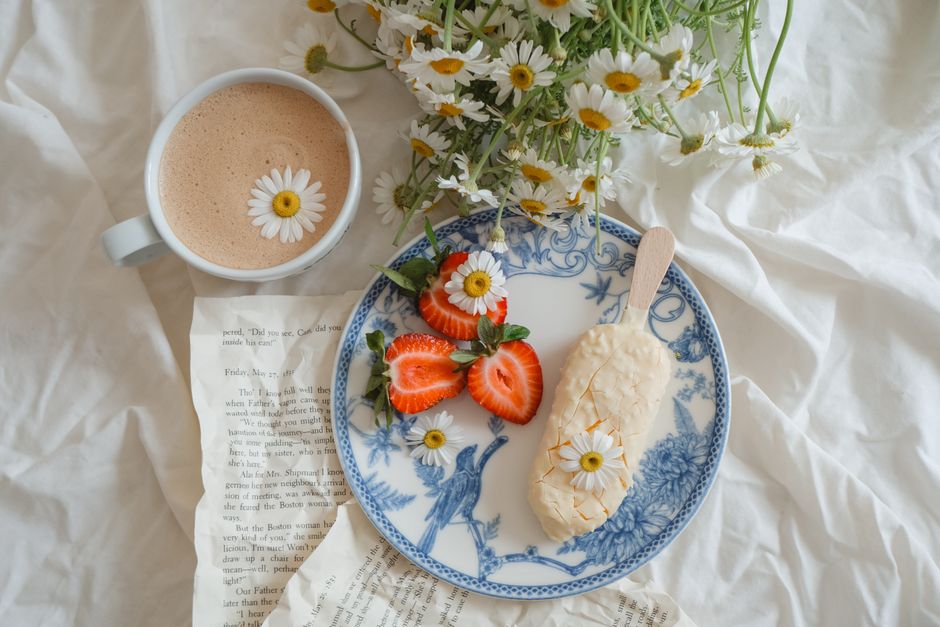
Most problems with homemade fruit popsicles come from a few common slips. None of it needs special equipment. Let's look at what makes homemade fruit popsicles work, and what you can skip.
Getting the balance wrong
Worth keeping in mind: sugar does more than sweeten. It lowers the freezing point of the mixture, which keeps the pops from turning into solid blocks of ice that are hard to bite. A simple guide is about two to four tablespoons of sugar or honey for every two cups of fruit puree, adjusted to the ripeness of the fruit. Very sweet fruit like mango needs less, while tart berries or rhubarb need more.
Ripe, in-season fruit does most of the work for you.
Rushing the freeze
Texture depends on how smooth the puree is. Blending for a full minute breaks down fibers and gives a softer bite, and straining berry purees through a fine sieve removes seeds that can feel gritty once frozen. A squeeze of lemon or lime juice keeps the color fresh and sharpens the fruit flavor without making the pops taste sour.
None of this needs to be exact; small changes in fruit or sugar are part of the fun.
Skipping the prep
Most fruit pops need four to six hours in the freezer, and overnight is the safest plan. If your molds use separate sticks, freeze the pops for about an hour until slushy, then insert the sticks so they stand straight. Leaving a little space at the top of each mold allows for expansion as the liquid turns to ice.
The practical takeaway is to taste the mixture before it goes in the freezer, since cold dulls sweetness.
Using the wrong container
It helps to remember that to release the pops, run the outside of the mold under warm water for ten to fifteen seconds and pull gently. Pops kept in the freezer stay at their best for about two weeks if they are wrapped or stored in an airtight bag, since open air slowly dries them out and lets them pick up freezer odors.
If you remember one thing, let it be that the balance of sugar, fat and water decides the texture.
How to rescue it
The key point is that a good fruit popsicle starts with fruit that tastes good on its own. Ripe strawberries, peaches, mangoes and watermelon all blend into a smooth, bright base, and the flavor you taste in the blender is close to what you will taste in the freezer, only a little muted. Cold dulls sweetness, so a base that seems slightly too sweet at room temperature generally freezes into something that tastes just right.
Labeling containers with the date makes it easy to use things while they are at their best.
Practical tips
In everyday terms, this can look like:
- Store finished treats in an airtight container.
- Run molds under warm water for a few seconds to release them.
- Chill the base in the fridge before it goes in the freezer.
- Taste the mixture before freezing; it will taste less sweet once frozen.
The bottom line
None of this needs to be perfect. Take it one batch at a time. Every attempt teaches you something about your own freezer and oven.
Frequently asked questions
Do I need special equipment?
Not really. Molds help, but small cups, a loaf pan or an ice cube tray work for most homemade fruit popsicles recipes.
Can I swap the fruit?
Usually yes. Keep the overall amount of liquid and sweetness similar and the recipe will behave much the same.
How far ahead can I make it?
Most frozen treats keep well for a couple of weeks in a sealed container; texture is best in the first few days.
Is it a good project for kids?
Yes, with an adult handling knives and the stove. Stirring, pouring and choosing flavors are easy jobs for small helpers.