 Pops
Pops Safe Custard Bases: A Beginner's Guide
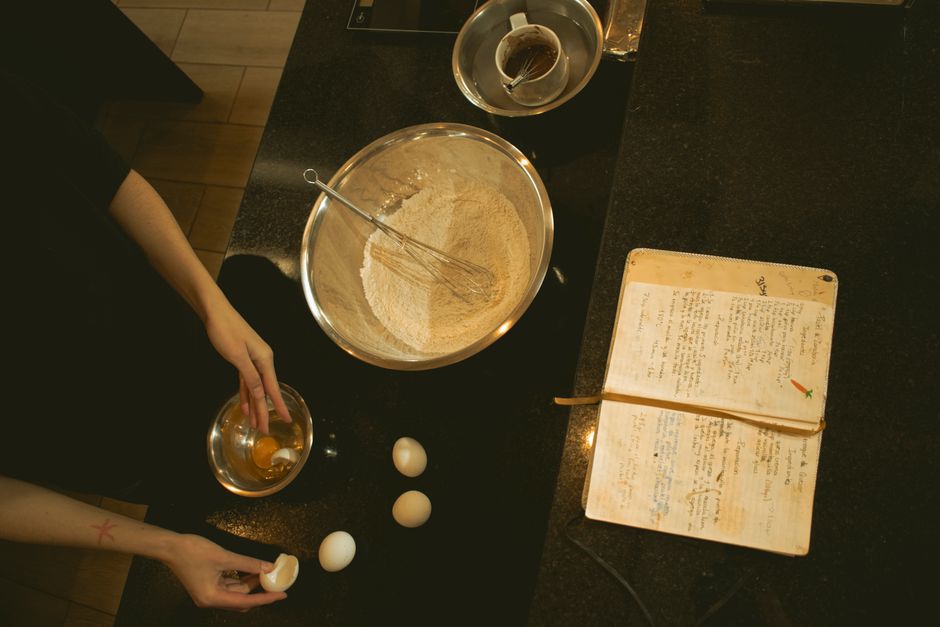
Safe custard bases is a forgiving place to start in the kitchen. The method is forgiving, so small changes are fine. Here is a practical look at safe custard bases for home kitchens.
Start here
In practice, many classic desserts rely on custard, a mixture of eggs, milk or cream and sugar thickened over gentle heat. Custard forms the base of rich ice creams, puddings, pastry creams and curds. Because it contains eggs and dairy, careful handling keeps it both smooth and safe.
What you need
Worth keeping in mind: cooking custard to the right temperature is essential. Heating it to at least 160 degrees Fahrenheit cooks the eggs and thickens the mixture, and most custard bases reach the ideal thickness between 170 and 180 degrees. An instant-read thermometer removes guesswork, though a traditional test is to dip a spoon into the custard and draw a finger across the back. If the line holds, the custard is ready.
Your first batch
Put simply, gentle heat prevents curdling. Eggs cooked too quickly scramble into lumps. Tempering helps avoid this by slowly whisking a little of the hot milk into the beaten eggs before returning the mixture to the pan. Stirring constantly over low to medium heat keeps the custard smooth, and straining it afterward removes any small bits of cooked egg.
What to expect
More often than not, cooling quickly matters for both quality and safety. Pour the cooked custard into a clean bowl and set it in a larger bowl of ice water, stirring occasionally until cool. This brings the temperature down through the range where bacteria grow fastest. Pressing plastic wrap onto the surface prevents a skin from forming.
Easy upgrades
More often than not, refrigerate custard bases promptly and use them within a few days. Ice cream bases benefit from chilling overnight before churning, which improves texture and lets flavors mature. Custards made with raw eggs that are not cooked carry more risk, so recipes that skip cooking are best made with pasteurized eggs.
It helps to make a small test batch before scaling a recipe up.
Practical tips
A few simple things tend to help:
- Label containers with the date.
- Store finished treats in an airtight container.
- Keep the freezer door closed as much as possible while things set.
- Leave a little space at the top of molds for expansion.
The bottom line
None of this needs to be perfect. The best recipe is the one you will make again. Start with the basics and adapt from there.
Frequently asked questions
How far ahead can I make it?
Most frozen treats keep well for a couple of weeks in a sealed container; texture is best in the first few days.
Why did mine turn icy?
Ice crystals grow when there is too much water and too little sugar or fat. A little more fruit purée or cream usually fixes it.
Is it a good project for kids?
Yes, with an adult handling knives and the stove. Stirring, pouring and choosing flavors are easy jobs for small helpers.
Can I swap the fruit?
Usually yes. Keep the overall amount of liquid and sweetness similar and the recipe will behave much the same.