 Pops
Sundae Bar: A Beginner's Guide
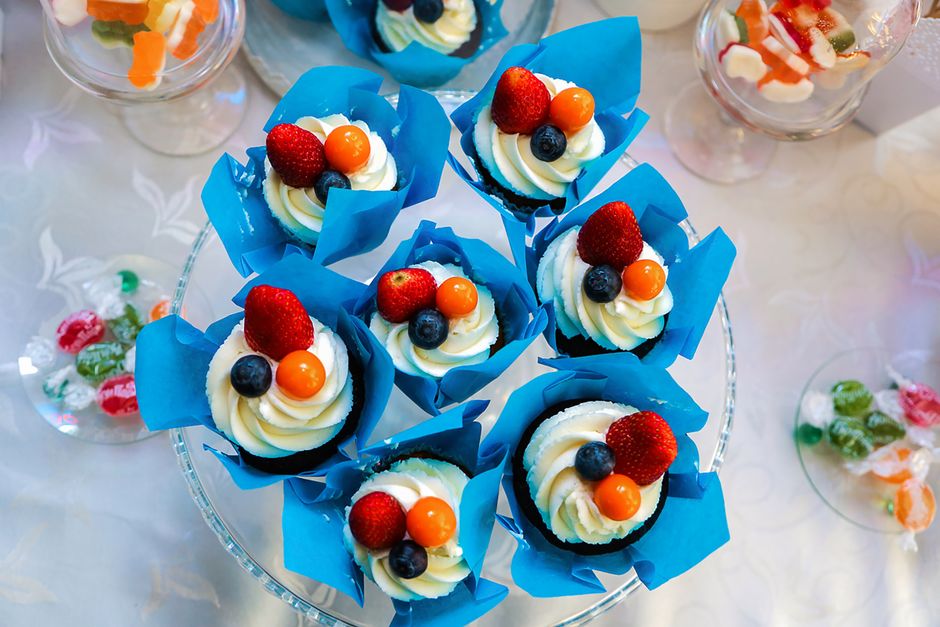
For a first attempt at sundae bar, a few basic tools are all you need. Most of the work is waiting while it freezes or bakes. Let's look at what makes sundae bar work, and what you can skip.
Start here
Put simply, a sundae bar lets every guest build their own dessert, which takes pressure off the host and keeps everyone entertained. It works for birthdays, summer gatherings and family celebrations, and most of the components can be prepared or purchased ahead of time.
The goal is a recipe you can repeat easily, not a perfect one-off.
What you need
Worth keeping in mind: plan for two or three ice cream flavors rather than many. Vanilla, chocolate and one fruit or specialty flavor cover most tastes. About one to one and a half cups of ice cream per guest is a reasonable guide. Pre-scooping the ice cream onto a parchment-lined tray and returning it to the freezer saves time and keeps the line moving once the party starts.
Labeling containers with the date makes it easy to use things while they are at their best.
Your first batch
Sauces form the centerpiece. Hot fudge, caramel and a fruit sauce like strawberry or cherry provide variety. Warm sauces can be kept in small slow cookers or set in bowls over warm water. Room temperature sauces should be placed in squeeze bottles or small pitchers with spoons for easy serving.
Ripe, in-season fruit does most of the work for you.
What to expect
The key point is that toppings add color and crunch. Sprinkles, chopped nuts, crushed cookies, mini marshmallows, chocolate chips, fresh berries, sliced bananas and maraschino cherries all have their fans. Arranging toppings in small bowls with their own spoons prevents cross-contamination and makes it easier for guests to see what is available. Labeling bowls that contain nuts aids guests with allergies.
Ripe, in-season fruit does most of the work for you.
Easy upgrades
Put simply, keeping the ice cream cold is the main challenge. Nest tubs or bowls of ice cream inside larger bowls filled with ice, and bring out only what is needed, replacing it as it runs low. Placing the bar out of direct sunlight helps, and setting out a stack of napkins and a trash bin nearby keeps the area tidy throughout the event.
Labeling containers with the date makes it easy to use things while they are at their best.
Practical tips
In everyday terms, this can look like:
- Label containers with the date.
- Chill the base in the fridge before it goes in the freezer.
- Run molds under warm water for a few seconds to release them.
- Taste the mixture before freezing; it will taste less sweet once frozen.
The bottom line
The best recipe is the one you will make again. Keep it simple, taste as you go, and have fun with the flavors. That is really all it takes.
Frequently asked questions
Can I swap the fruit?
Usually yes. Keep the overall amount of liquid and sweetness similar and the recipe will behave much the same.
Is it a good project for kids?
Yes, with an adult handling knives and the stove. Stirring, pouring and choosing flavors are easy jobs for small helpers.
How far ahead can I make it?
Most frozen treats keep well for a couple of weeks in a sealed container; texture is best in the first few days.
Why did mine turn icy?
Ice crystals grow when there is too much water and too little sugar or fat. A little more fruit purée or cream usually fixes it.