 Pops
Freezing Fresh Fruit: A Simple Guide
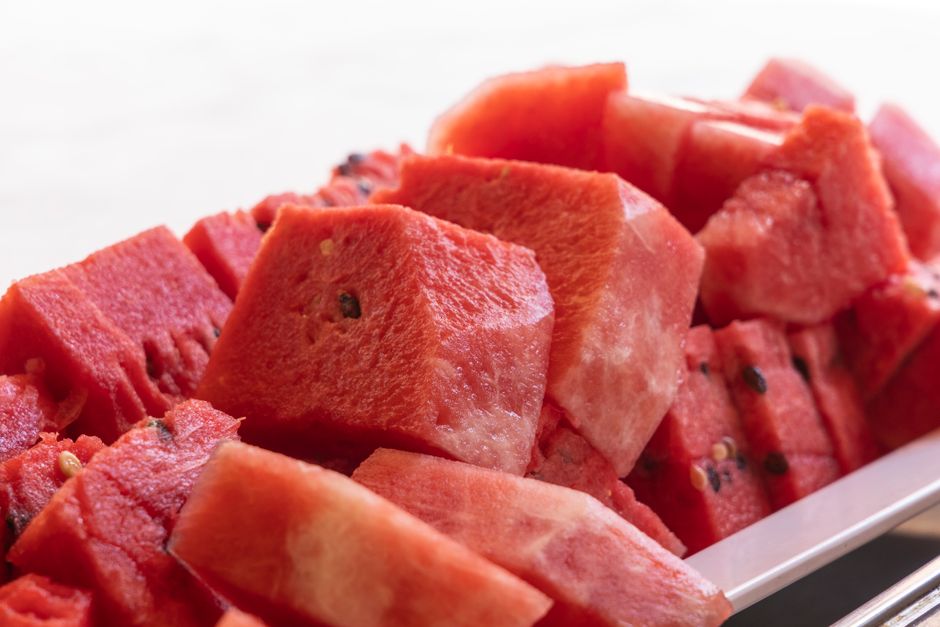
Freezing fresh fruit comes down to a handful of simple ideas, and this guide covers them. None of it needs special equipment. Below, we walk through freezing fresh fruit step by step.
Why it works
Start with fruit that is ripe but not mushy. Freezing does not improve fruit, so the quality you put in is the quality you get out. Wash and dry the fruit thoroughly, since extra surface water forms ice crystals and makes pieces stick together. Remove stems and pits, and cut larger fruit into even, bite-sized pieces.
The practical takeaway is to taste the mixture before it goes in the freezer, since cold dulls sweetness.
The basics
On a day-to-day level, the tray freezing method keeps pieces separate. Spread the fruit in a single layer on a parchment-lined baking sheet, making sure the pieces do not touch, and freeze for one to two hours until firm. Then transfer them to freezer bags or airtight containers. This lets you scoop out exactly as much as you need later.
The practical takeaway is to taste the mixture before it goes in the freezer, since cold dulls sweetness.
Ingredients that matter
On a day-to-day level, some fruit advantages from a little preparation. Peaches, apples and bananas darken when cut, so a quick toss in lemon juice supports keep their color bright. Peeled bananas freeze well in chunks and are ideal for blending into creamy frozen desserts. Berries can go straight onto the tray after rinsing and drying.
The goal is a recipe you can repeat easily, not a perfect one-off.
Step by step
Press as much air as possible out of bags before sealing to ease freezer burn, and label each bag with its contents. Most frozen fruit keeps good quality for eight to twelve months. Thawed fruit is softer than fresh, so it works best in cooked or blended recipes rather than eaten on its own, though frozen grapes and berries make a refreshing snack straight from the freezer.
It helps to make a small test batch before scaling a recipe up.
Small tweaks that help
More often than not, freezing fruit at its peak is the easiest way to keep summer flavor on hand for smoothies, compotes, ice pops and baking. Done properly, it preserves color and taste and prevents the fruit from turning into a solid, icy clump.
Practical tips
Here are a few easy places to start:
- Chill the base in the fridge before it goes in the freezer.
- Leave a little space at the top of molds for expansion.
- Keep the freezer door closed as much as possible while things set.
- Store finished treats in an airtight container.
The bottom line
Keep it simple, taste as you go, and have fun with the flavors. The best recipe is the one you will make again. Start with the basics and adapt from there.
Frequently asked questions
Why did mine turn icy?
Ice crystals grow when there is too much water and too little sugar or fat. A little more fruit purée or cream usually fixes it.
How far ahead can I make it?
Most frozen treats keep well for a couple of weeks in a sealed container; texture is best in the first few days.
Do I need special equipment?
Not really. Molds help, but small cups, a loaf pan or an ice cube tray work for most freezing fresh fruit recipes.
Is it a good project for kids?
Yes, with an adult handling knives and the stove. Stirring, pouring and choosing flavors are easy jobs for small helpers.